Work with Grexx Studio
Grexx Studio is the web-based editor that you use to build applications on Grexx Platform. From the Studio, you can configure casetypes and activities, create forms, design pages and views, define roles and permissions, and much more.
You can preview and test the functionality you build in the Studio from your Development environment. When you are ready to share your application with others in your organization so they can try out the functionality, you create a release version and deploy it to your Testing and Acceptance environments. To make your application available to real users, you deploy a release version to Production.
Each Studio is designed for development of a single application. If you're collaborating on the same application with colleagues, you all work together in the same Studio.
If you are building multiple applications with Grexx Platform, you will have a separate Studio and Development, Testing, Acceptance and Production environments (a DTAP "street") for each application. You can access the Studio and DTAP environments for each of your applications from MyGrexx.
If you have completed the interactive tutorial, you will have used your own training Studio to build an example HR application. You can keep using this training Studio and its associated Development environment as your personal sandbox. Don't forget to bookmark the link so you can access your training Studio easily, or navigate to it from the XXID login page.
Enable Grexx Assistant
Grexx Assistant ("Grexxie") is available to help you as you develop your application. You can use Grexxie to search for information contained in the Grexx Platform documentation.
For example, you could ask Grexxie how to use activity triggers or for advice on computed attributes. You can also ask Grexxie to suggest the casetypes, attributes, and activities you need for a particular type of application.
To enable Grexx Assistant:
- From your Studio open Settings > Platform settings.
- Click Edit AI settings and then select Enable AI options.
- Click Submit.
- Click the new Grexx Assistant icon in the top right-hand corner of your Studio. You will be prompted to review and accept the terms and conditions before first use.
Manage Studio developers
To grant colleagues access to your Studio so that they can collaborate on the same application, you need to invite them to join your Studio as developers.
From your Studio, open the Settings page, select the User management tab and click Invite studio developer. Enter the developer's name and email address and click Invite. An email invitation is sent to the email address you provided with a link to complete the account creation process.
Once the recipient has clicked the link and created their XXID account (or linked an existing XXID account to the application), the developer is added to the list of Studio users. They can access the application Studio using the link in the email, from MyGrexx, or from the XXID login page.
Studio developers can create and edit most aspects of an application, including casetypes, datasets, templates, and user roles. However, they cannot add components to the Marketplace or add other users to the Studio. To grant another developer administrator access so that they can manage Studio users and/or add components to the Marketplace, contact your Grexx coach.
You cannot add developers to your personal training Studio. The number of developers you can add to your organization's Studio(s) is determined by your plan.
Preview changes as you work
Your Development environment is designed for previewing and initial testing of your application. We recommend deploying your changes to Development regularly so that you can check that your changes are working as expected. Updating Development several times per hour (or more) is not unusual.
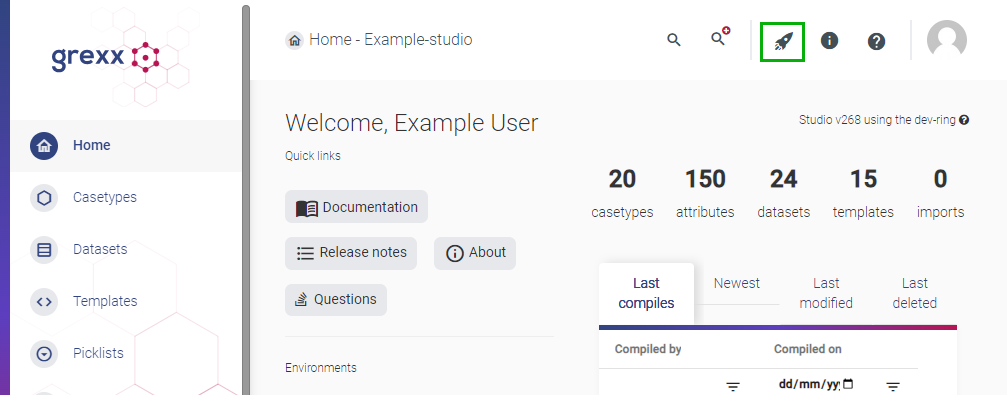
To deploy your changes to Development, click the rocket icon on the Studio toolbar. This compiles your application with the latest changes and then updates the Development environment with the latest version of your application.

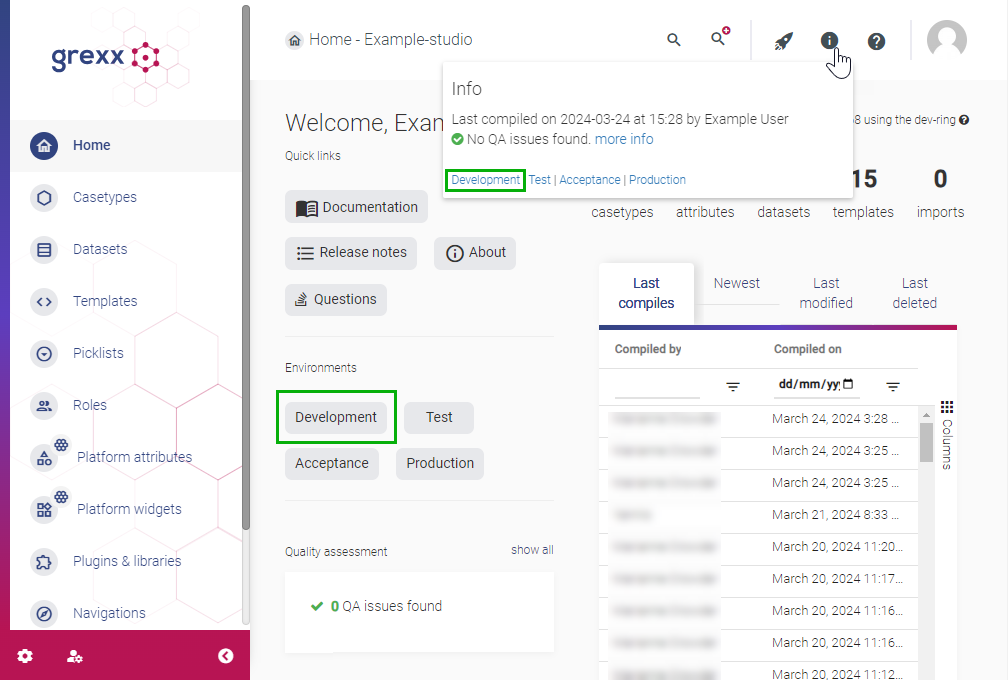
To open your Development environment and preview your latest changes, click Development on the Studio homepage or click the information icon on the Studio toolbar and then click the Development link.

If your user account does not already have access to your Development environment, you can grant yourself access from MyGrexx:
- From the Environments list select your Development environment.
- From the Development page, expand the context menu in the bottom right-hand corner and select Invite platform administrator.
- Enter the same username and email address that you use to log in to your Studio and then click Invite.
- An email invitation is sent. Click the link in the email to accept the invitation.
You can now log in to your Development environment using the same user account as you use to access the Studio. You can also use this option to grant other Studio developers access to your Development environment.
Once you have added user management features to your application, you can add "normal" users with specific roles to your Development environment. You can then check that users in different roles can only see the data and perform the activities that they should by logging in as a test user or using Developer Tools to impersonate a test user.
Development workflow with DTAP environments
Grexx Platform includes Development, Testing, Acceptance and Production (DTAP) environments for your application. You can use these environments to manage testing and validation of your application and control when new features are made available to users.
A typical development workflow uses the DTAP environments as follows:
- Preview and test your changes as you work in Development.
- When you have completed a piece of functionality, deploy to Testing to test the changes systematically.
- Once changes are reasonably stable, deploy to Acceptance to share those changes with stakeholders.
- When you are ready to release a new version of your application to end users, deploy to Production.
For more information about deploying your application to Testing, Acceptance and Production, see Release your application to users.
Each environment is independent of the others. This means you will need to add users to each environment. Any cases and associated data that you add - such as products, orders, employees, or claims - are unique to that particular environment.